Quick Links
For SEO experts, the term ‘website migration’ often sends a shiver up the spine.
Here’s a typical horror story – a company spends months and thousands of dollars restructuring their website, only to experience a steep drop off in organic traffic and search engine rankings immediately after.
Whether you’re doing an in-depth redesign to your site architecture or switching to a new domain, a successful migration takes rigorous planning to pull off without having a negative impact.
Before moving forward with website migration, you’ll also want to confirm that it’s absolutely necessary. Yet, if migration is your only option, you’ve come to the right place.
Stay tuned for our step-by-step website migration checklist that will help keep your SEO intact.
What Is Website Migration?
A website migration occurs whenever a website undergoes significant changes to its URL, domain name, structure, UI, UX, content, or platform.
The keyword there is ‘significant,’ as minor tweaks and changes don’t constitute a site migration. The changes must drastically affect search engine visibility in order to fall under the website migration umbrella.
That’s why the migration process is feared by SEO professionals – as it can easily lead to a huge loss of traffic and may cause your website to lose its ranking.
For example, let’s say that you have a series of landing pages that rank on page one of Google’s SERPs (search engine results pages). They’re your most important pages and constantly bring in traffic and new leads for your business.
Yet, you need to migrate to a new CMS for your website to survive. After the migration, you notice that your landing pages not only lost their rank but aren’t even showing up on Google due to an issue with Googlebot’s crawler (or because of one of the many other problems that can occur during a migration).
These are real hazards that happen to many organizations that attempt website migrations.
That’s not to say that migrations don’t have their place. In fact, at times, a site migration may be your only course of action to save your business – such as moving from an outdated CMS with limited capabilities to WordPress.
Understanding the Type of Migration You Need
Site location migrations
Generally, site location migrations involve changes to your website’s URLs, such as:
Protocol changes
The protocol refers to the http:// portion of your URLs. A major protocol location migration many sites have to go through is making the switch from HTTP to HTTPS/HTTP2.
Why make the switch?
Primarily, it’s for the added security that HTTPS provides. That’s especially true if you plan to incorporate e-commerce into your website. It’s strongly recommended that all sites selling merchandise use HTTPS to keep customer data secure.
Subdomain changes
The subdomain is the ‘www.’ segment of the URL. You may need to make changes to your subdomain if you’re creating a version of your website in a different language. An example is the French version of Yahoo (fr.yahoo.com). The subdomain ‘fr.’ conveys that the website will display in French.
You’ll need to tweak your subdomain if you’re adding a mobile version of your website as well. (i.e., m.yourwebsite.com)
Domain name changes
Your domain name is the original name you chose for your website. Domain name changes are usually related to rebranding. If your company name and branding change, you’ll likely want your domain name to reflect that as well.
Top-level domain changes
The top-level domain is the ‘.com’ portion of your URL. A top-level domain change would be switching from a ‘.com’ to a ‘.net’ or ‘.org.’ Adding or removing a ccTLD (country code top-level domain) is another alteration you can make, such as adding ‘.au’ for new URLs (or old URLs), in Australia.
Platform migrations
Here are some other reasons to consider migrating to a new CMS:
- It takes too long to publish content
- It no longer generates revenue for you
- It has limited support for mobile devices
- It can’t integrate with crucial marketing tools
These are all signs you’ll benefit from switching to a more robust CMS. Switching platforms will likely result in changes to your URL structure and design due to technical issues and limitations. The result will likely be a website that looks similar to your old site but has noticeable differences.
Content migrations
Significant changes to your content will affect your visibility on search engines, especially if it’s on a large scale. That includes:
- Major rewrites
- Consolidating and pruning old pages and new pages
- Changes to a large number of meta descriptions and page titles
- Hiding content
- Removing duplicate content
These will all affect your SEO and user experience. That’s why you’ll need to pay special attention when migrating large chunks of content so you don’t see a negative impact.
Structural migrations
Any changes to your site’s navigation, internal links, and taxonomy are considered structural migrations.
That could be as simple as adding breadcrumbs to your navigation bar to as complex as completely redefining the way you structure your website.
Design migrations (UI & UX)
Do you plan on making significant tweaks to your technical SEO, such as improving load times and adding 301 redirects to 404 pages? If so, you’re planning a design migration.
This type of migration also includes changes to site functionality (interactive forms, internal search, blogging, etc.).
Anything that contributes to the look and feel of your website (including media) falls under this category. So if you plan on giving your website a massive makeover – be prepared for an impact on your SEO.
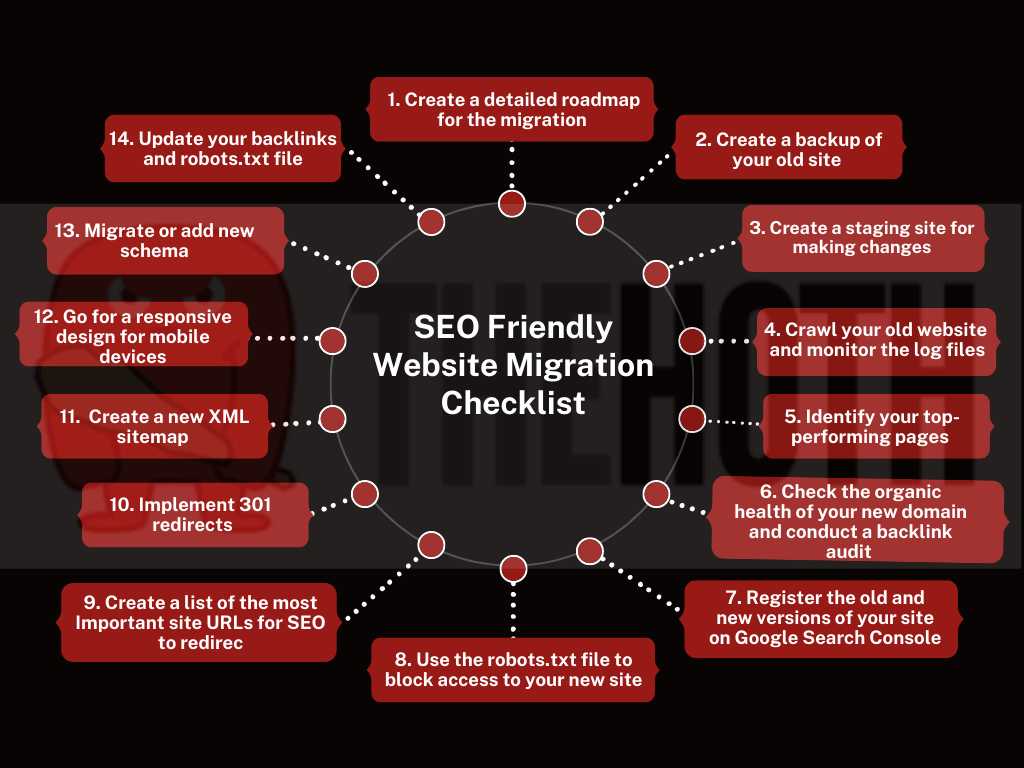
A Thorough and SEO-Friendly Website Migration Checklist
Step #1: Create a detailed roadmap for the migration
You’ll want to actively involve your stakeholders and team members when devising your roadmap. To make things easier, you can use project management software such as Asana.
That will make it effortless to assign each team member their specific tasks for the migration. Project management software is also excellent for visualizing each aspect of the process as well as set individual deadlines. If you don’t have access to software, you can make use of a simple Gantt chart.
During the planning phase, it’s also wise to pick a date for the launch.
That will give you an ultimate goal to work toward and will dictate the deadlines for each task. When selecting a date, you’ll need to leave plenty of time for:
- Redesign and approval
- Any necessary development work
- Content creation and updates
- Search engine optimization migration
- Tasks for the day of launch
Step #2: Create a backup of your old site
Before you start work on the migration, create a backup of your website in its current state. That way, if the migration goes completely haywire – you can simply revert to your old site to avoid costly downtime.
It’s also a smart move to keep an unaltered version of your website around if you need to work out any kinks during the migration.
Sit down with your team to create a rollback plan in case the worst should take place. Doing this allows you to work on your migration stress-free, knowing that you still have a functional version of your old website on hand if you need it.
Step #3: Create a staging site for making changes
Even with a backup, it’s still wise to create a staging site. This is a duplicate of your old website that you will use as your operating table.
Since it’s only a copy, there’s no harm in making mistakes or experimenting with it. That turns the pressure off during the migration process, granting your developers lots of freedom.
A staging site will give your developers plenty of time to review the content and test the functionality of the new site. You’ll also get the chance to use 301 redirects before going live.
Without a staging site, you’d have to change the URLs in internal links and XML sitemaps numerous times, both pre and post-launch. That’s an inconvenient and time-consuming process, so creating a staging site is well worth the trouble.
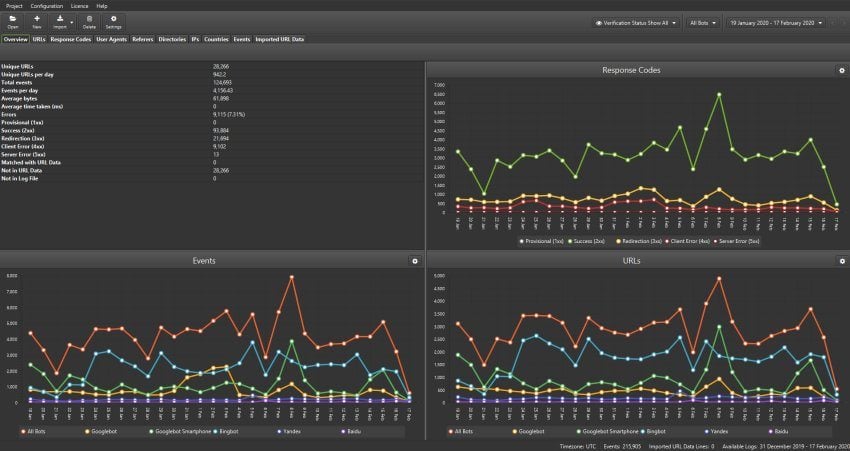
Step #4: Crawl your old website and monitor the log files
You can use a platform like Screaming Frog to do an in-depth crawl on your website. It will provide a comprehensive report of any errors that it found, which you’ll want to address ASAP.
In addition to crawling your website, you can also crawl your staging site or staging environment (a duplicate of your website). Since this is where you will actively make the changes for your site migration, it’s a good idea to crawl it for errors as well.
Step #5: Identify your top-performing pages
After the crawl, the report will tell you which of your web pages are performing the best. As such, you’ll want to keep these pages after the migration to retain their SEO value.
Besides taking stock of your top performers, you should also pay attention to metrics like visit volume and HTML tags. This data will help you determine what to keep and what to throw away during the migration process.
Step #6: Check the organic health of your new domain and conduct a backlink audit
This step is only if you’re migrating to a new domain.
To check the health of the domain, you can use our free Domain Authority Checker Tool. It performs an in-depth assessment of the strength of your web pages and the likelihood of ranking well on search engines. Ideally, you want to migrate to a domain with high authority – as that will work out best for your SEO.
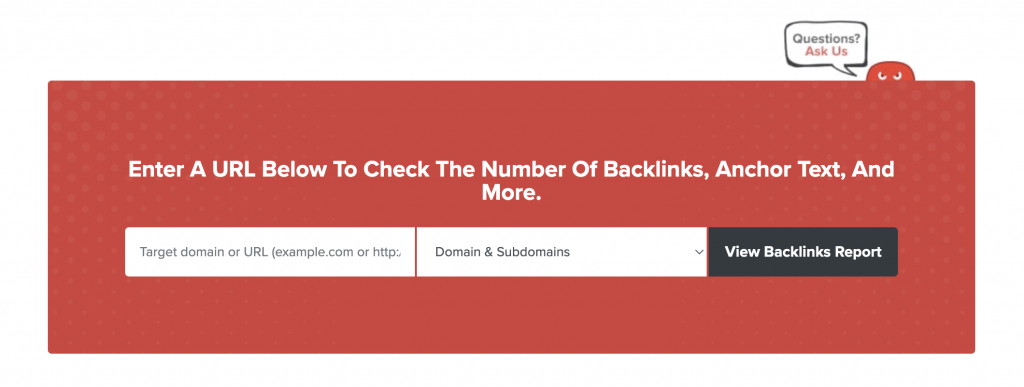
When it comes to backlinks, you can use our completely free Backlink Checker Tool. It will let you know the quality of the backlinks pointing to the domain. That will clue you in on any spammy or penalized pages pointing to your new domain.
Lastly, it’s a good rule of thumb to check out the content of the old site by using a tool like the Wayback Machine.
Step #7: Register both the old and new versions of your site on Google Search Console
It’s crucial not to forget to register your old and new website on GSC. Doing so is a fairly straightforward process and usually involves copying/pasting a code into your CMS.
Why bother with registering both websites?
It’s because you want to know that Google has visibility of your website. GSC will let you see all the indexed pages it has on file, as well as any errors that occurred during crawling. For whatever reason, sometimes errors occur during discovery, crawling, and indexing.
If Google can’t index your website, it won’t show up on its SERPs. That’s why you’ll always want to know for certain that Google is able to index your URLs – as it will help you avoid dropoffs in traffic and rankings.
Step #8: Use the robots.txt file to block access to your new site
While you’re working on the site migration, you don’t want your staging site to compete with your old site on Google. If Google locates duplicate versions of your website, it won’t know which to index and rank – which will hurt your SEO.
You’ll want to tell Google (and other search engines) not to index your staging site while you’re working on it.
The easiest and most reliable way to do so is to use the robots.txt file for the test site. It’s crucial to remember to unblock access once you launch the website – or Google will still ignore it. Make a note to yourself that the staging site is blocked and that you’ll need to unblock it before the launch date.
Step #9: Create a list of the most Important site URLs for SEO to redirect
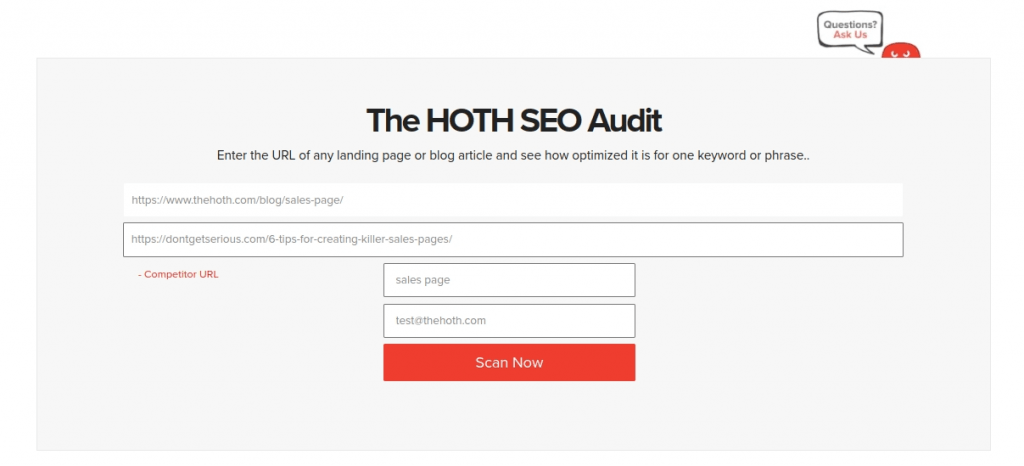
After you use Screaming Frog (or another crawler) on your site, you’ll want to compile data from a few different sources to determine their strength SEO-wise. We recommend using:
These three tools will give you detailed analytics on how optimized your URLs are for search engines. This data will help you prioritize content, 301 redirects, and more for your site migration. It will also help you discover which pages you need to update, consolidate, or remove.
Step #10: Implement 301 redirects
Next up on the website migration checklist is to create a map for your 301 redirects. You should base this map on the SEO data you compiled from the previous step. That will ensure that all your old URLs redirect to the proper new URLs. It also makes sure that all your internal links will redirect properly.
Once the redirect roadmap is ready, don’t implement it just yet. Instead, crawl the list to verify that there are no broken links or redirects on the list. Once the crawl is complete and there are no errors, you can implement the redirects via your CMS.
Step #11: Create a new XML sitemap
Once all your new URLs are ready, you’ll want to create a new XML sitemap that you’ll attach to your website. After that, upload it to Google Search Console.
Why is this necessary?
It’s because the sitemap helps search engines discover your service, product, and business pages so they can index them and rank them in the SERPs. If you upload a new sitemap as soon as your site goes live, Google will notice your changes quicker than if you didn’t. It’s another technique that combats the SEO dropoff involved with website migrations.
Step #12: Go for a responsive design for mobile devices
In today’s age, Google focuses on mobile-first indexing. That means Googlebot will take a look at the mobile version of your site before looking at the desktop version.
Not only that, but Google prefers a responsive design. In other words, it’s best not to have two versions of your site but one version that displays flawlessly on desktops and mobile devices. If you aren’t sure how mobile-friendly your website is, you can use Google’s Mobile Friendliness Test.
Step #13: Migrate or add new schema
Schema is a set of data markup opportunities, or in other words, a blueprint for the construction of a database. How does schema factor into website migration?
Well, schema’s primary use is to help website crawlers better understand the content on a web page. If you don’t have schema on your website, you should strive to include it. That’s because schema can increase your rankings and result in rich snippets, both of which are great for your SEO. If you have an existing schema on your old website, migrate it to the new one.
Step #14: Update your backlinks and robots.txt file
You don’t want to lose the backlink equity you built up on your old website. That’s why you’ll want to run a backlink checker to discover all the links pointing to your site. From there, reach out to each link so they can update the backlinks to point to your new site.
This is a rather involved process that will take some time. As such, it’s wise to designate one of your team members to focus entirely on keeping track of backlinks and handling the outreach.
You’ll need to retain control of your old domain until all your backlinks get updated. Otherwise, someone else can claim the domain and steal your backlink equity.
If you have an extensive website containing pages that you don’t want to be indexed on search engines, you’ll need to create a new robots.txt file. If you don’t have any pages that you don’t want to appear in the SERPs, you won’t need to worry about it.
Conduct a Thorough SEO Audit Before and After Launch
Once all the website migration checklist items are complete, you’ll want to perform an in-depth SEO audit of the new website – as you’ll want to make sure everything is in its right place. That includes ensuring all URLs, pages, content, links, and tags are accounted for and in the correct spot. Run a crawl, check Google Analytics, and test your new website on mobile before initiating the launch.
Even after the launch, you’ll want to perform another audit. That will ensure that everything is still working post-migration.
After that, it’s about measuring your performance results post-launch. Keep a close eye on your organic search traffic, rankings, page speed, and engagement metrics.
To ensure you keep your rankings, you can use The HOTH’s free Google Ranking Checker. If you notice your ranks falling, you’ve got some work to do. In a nutshell, you’ll want to monitor your progress, ensure your success, and make additional tweaks when necessary.
Choose The HOTH for Managed SEO and More
If you don’t have an internal team to knock out the website migration checklist for you, we recommend contacting an experienced professional.
Once you’re ready to focus on your SEO, we’re here to help. Please don’t wait to schedule a call with our experts. With HOTH X, we can fully manage your SEO services for you.


 (Image Source)

It was a very informative blog about checklists to preserve SEO efforts during a website migration. Gained a lot of insight from it. Thanks for sharing.
Thank you for sharing your ideas. 15 checklist perfect